Peelaway 1 Application
How to use Peelaway 1
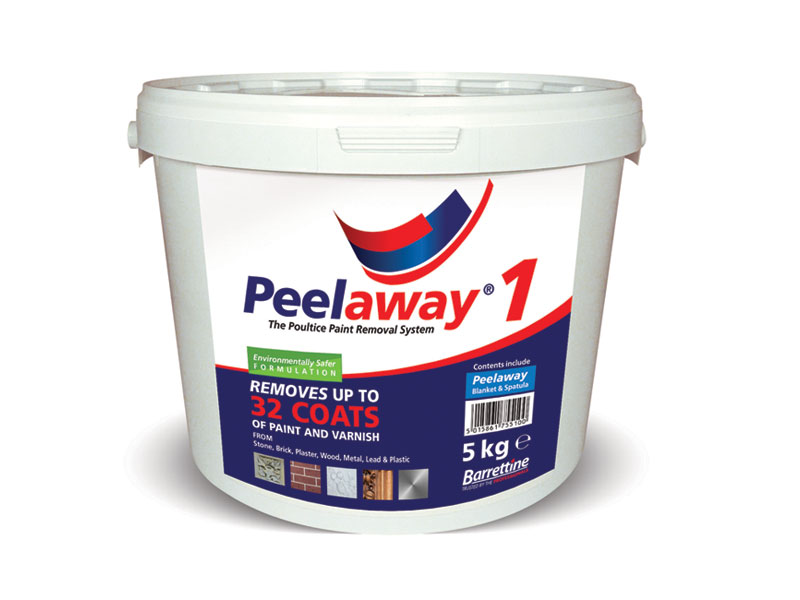
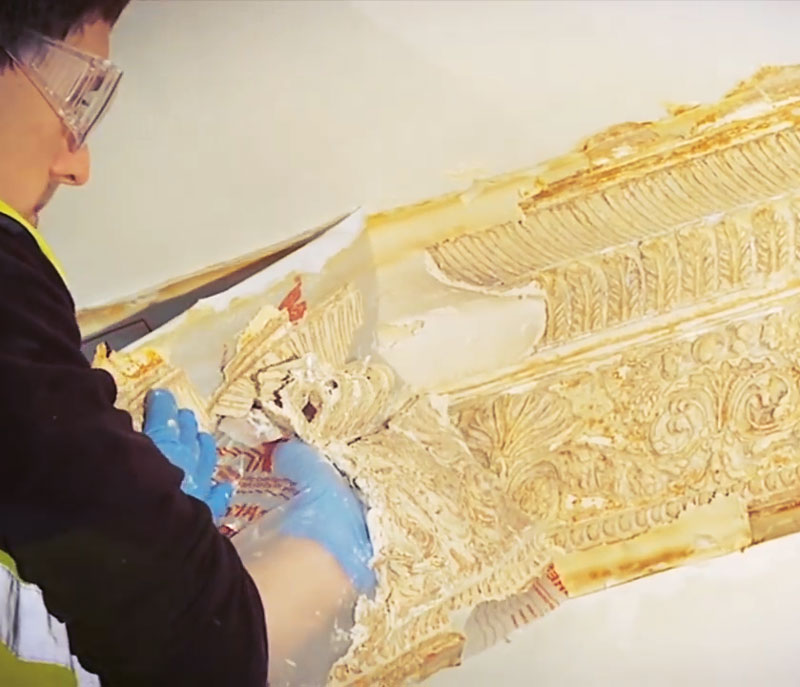
Peelaway® 1
Peelaway® 1 is a water based alkaline paste formulated to safely remove multi-layers combinations of household paints and varnishes based on oils and alkyds, both solvent and water-based, including lead-based paints and vinyl emulsions.
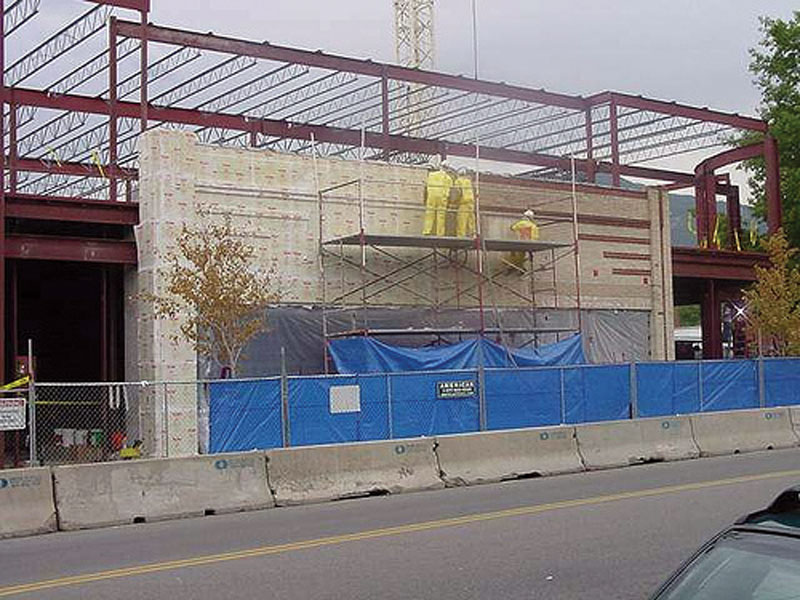
Safe to use on wood, brick, stone, steel, iron, concrete, decorative plaster cornices and plaster walls. Will also remove painted wallpaper.
![]()
Peelaway® 1 can be used on virtually all interior and exterior surfaces, vertical plus overhead and is excellent for intricate, carved and moulded surfaces. The paste is applied by spatula, brush, trowel or sprayed* over the surface to be stripped and covered with the Peelaway® poultice blanket for the required time (dwell time). When stripping is complete the blanket, paste and paint are removed with the blanket retaining the stripped paint which may contain toxic particles from the old paint and preventing them becoming airborne. *When spraying dilute up to 1 part water to 5 parts Peelaway® 1. We recommend an airless sprayer using a medium course spray nozzle.
Features and Benefits:
- One application removes multiple coats of paints, varnishes and oils.
- Environmentally safer compared to shot blasting, abrasion and heat guns where toxic paint particles can be released into the environment.
- Does not contain Methylene Chloride, N-MethylPyrrolidone (NMP) or highly flammable solvents.
- Safe for use on virtually all interior and exterior surfaces.
Caution: There is a strong risk Peelaway® 1 will darken woods with a high tannin content, such as oak, hemlock and iroko. Veneers, plywood, non-ferrous metals (particularly aluminium, zinc, lead, and chrome) and composition/resin-based surfaces such as gesso or paper-based wicker may be damaged by Peelaway® 1. For tannin-rich woods and non-ferrous metals, Peelaway® 7 may be more suitable.
Limitations: Peelaway® 1 will work more slowly under 5°C and will stop working under 0°C. Will not remove certain two pack epoxy coatings, baked enamels, cement-based paints or bitumen. It is essential that a test patch of Peelaway® 1 is carried out before use, to determine the residual effect of Peelaway® 1 on the surface being stripped as well as its effectiveness in removing any coatings. Please note, the colour of the Peelaway® paste may differ from batch to batch due to the naturally quarried lime.
1. Preparation
Please read all the instructions and safety information before starting work.
Cover and protect areas where stripping is not desired, including adjoining surfaces and floors where overspray may travel. Polythene sheeting and masking tape create an effective barrier. Plants should be covered during application. Do not sand flakes of paint if suspected to contain lead. Stir well before use and where Peelaway® 1 has started to dry out within the tub, adding small amounts of water at a time whilst mixing will return the paste to its original consistency. Remove any hard deposit and rehydrate in a small amount of water, then return to the bulk product. Store product in a cool and dry area, always replace lid firmly after use.
Protective Equipment: Wear appropriate personal protective equipment (PPE) such as chemical-resistant gloves, overalls and eye/face protection to protect against skin contact. If in doubt speak, to your PPE supplier and show them this label/product or call us for further advice.
Long gloves taped to sleeves are recommended to prevent Peelaway® 1 getting inside gloves or sleeves. Where prolonged use is anticipated, apply barrier cream to hands and arms. Where clean running water is not immediately available, keep a bucket of clean water with lid clearly marked “FOR EMERGENCY USE ONLY” in the work area.
2. Test Areas
Before using this product always conduct a Test Patch.
Twin Test patch kits are available from your local Peelaway® supplier or directly from Barrettine. The Test Patch kit consists of both Peelaway® 1 and Peelaway® 7. A test patch should be completed before undertaking any paint removal project, on an area typical of the surface to be stripped and including irregular as well as flat surfaces. This will confirm that the correct Peelaway® system, poultice thickness and dwell time has been selected, for clean and safe removal. Every project is different, making it vital that a test patch is always carried out. It is the responsibility of the end user to determine the suitability of the Peelaway® product with the substrate and coatings to be stripped.
Once a small test patch has confirmed that the Peelaway® product selected has worked we strongly recommend that larger areas are tested before starting your stripping project. This will allow a more accurate estimate of the thickness and time required to complete the stripping process. We would also recommend that the full clean-up process and any subsequent coatings intended to be applied are tested, to confirm compatibility after use of Peelaway.
Barrettine accept no responsibility or liability with regards to any damage or unsatisfactory results caused using Peelaway® products
Troubleshooting: Dwell time too short - the process has not completed so removal may be difficult, particularly in crevices. Dwell time too long – substrate could be damaged due to excessive water absorption, and excessive alkali absorption causing difficulty neutralising. Drying out of the poultice can occur, causing removal difficulty but can be rehydrated by lifting the blanket and spraying with warm water, then re-covering for 5 minutes. This should be repeated until it softens. Alternatively, another layer of Peelaway® 1 can be applied over the top.
3. Application
Apply Peelaway® 1 poultice by spatula, trowel or brush between 1mm to 6mm thick, working the poultice into crevices and mouldings. Ensure direct contact with substrate and on uneven surfaces, follow up with second coat to confirm that the minimum thickness is met all over. Older coatings and numerous layers will require the thickest application.
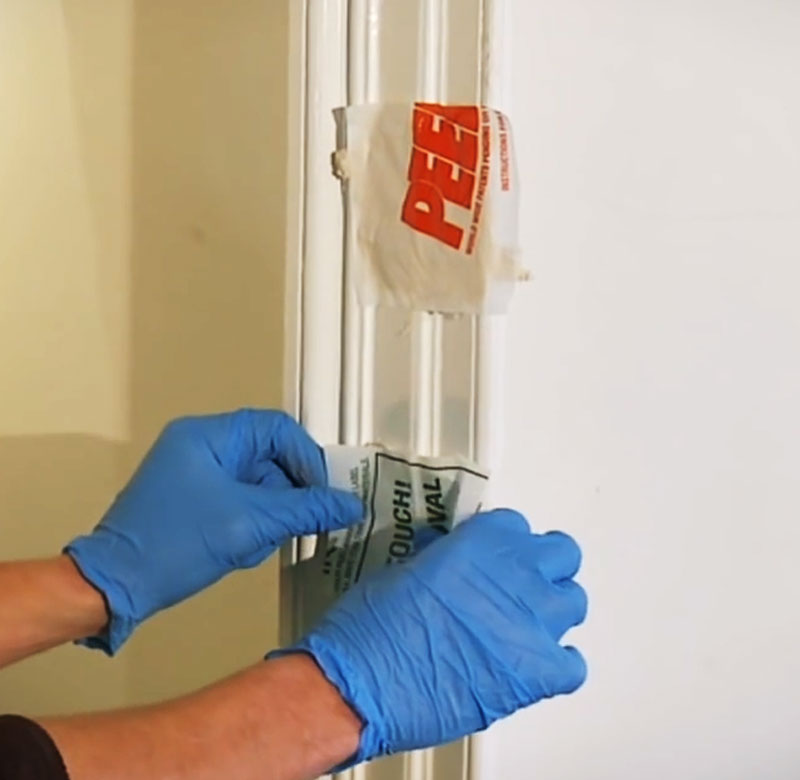
Place the Peelaway® 1 laminated blanket (printed side out) onto the poultice, excluding air as much as possible. Rub gently to remove any bubbles, piercing large ones if necessary. Masking down edges will decrease the chance of the poultice drying out.
Allow a dwell time of 2 to 48 hours, checking the test patch at intervals. The poultice should be removed after the shortest effective dwell time. Thicker/numerous paint layers and low temperatures will require the most time and heavy paint build-up may require up to 72 hours. However, this duration should be used with discretion to avoid excessive absorption into the substrate below.
External use may be affected by extremes of weather conditions (rain or direct sunshine) and additional monitoring or protection may be required. Tape down blanket edges to protect from high traffic or possibility of rain / wind. Only apply to an area size that is manageable and that can be stripped within the timescale indicated by the Test Patch.
Application by Airless Sprayer: Dilute up to 1 part water to 5 parts Peelaway® 1 and mix thoroughly until an even consistency is reached. We recommend an airless sprayer suitable for heavy materials with a medium to coarse tip size. Adjust pressure/nozzle as required to achieve an even spray.
Coverage: Coverage will vary from project to project. Determining factors will include: 1: The number of layers of paint to be stripped. 2: The type and age of paint being stripped. It is essential to carry out a test patch to determine the thickness required and dwell time before stripping. As a rough guide, coverage is 1m2 per kg for each mm of thickness.
There are two stages in the Peelaway® Paint Removal process. Stage 1: Involves the emulsification of coatings. Stage 2: The coatings dry and shrink onto Peelaway® laminated cover allowing easy removal.
Caution: Remove Peelaway® 1 from porous stonework immediately Stage 1 is complete to prevent internal structural damage.
4. Removal
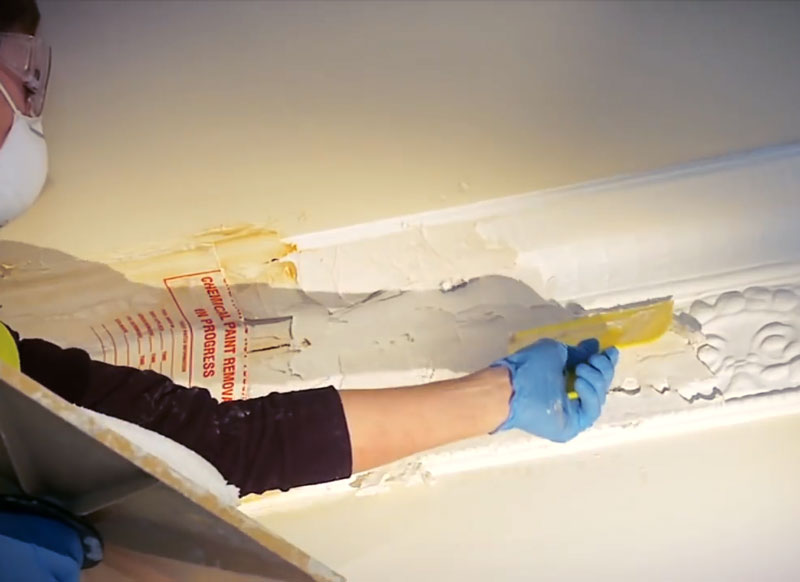
Ease the Peelaway® spatula under the poultice and gently pull the blanket from surface, keeping the paint, paste and cover together as much as possible. Remove any remaining residue with the spatula before commencing clean up. Intricate areas may need gentle encouragement with a small soft-bristled brush. Any remaining coating residue is usually pre-softened and can be removed in a few hours with a further application of Peelaway® 1. Collect material removed and dispose of in compliance with local regulations.
Clean-up: Use polythene sheeting to protect adjacent surfaces from splashback and run-off. Once the original surface is revealed, clean the stripped surface with water using a sponge, scrubbing brush or wet/dry vacuum. If needed, use a nylon bristle brush to loosen remaining residue. Avoid soaking the substrate or wetting for prolonged periods as this may force alkaline residue deeper within it. Power washing may damage porous substrates.
Neutralising: Peelaway® 1 is an alkaline based poultice, so porous surfaces should be neutralised with Peelaway® Neutraliser (20% acetic acid). If not neutralised, alkaline residue can interfere with the adherence and colour of future coatings.
After the stripped and cleaned surface has thoroughly dried, any visible residue should be vacuumed or brushed off. Peelaway® Neutraliser should then be applied as per the separate instructions on the bottle.
After neutralisation, conduct a pH test to confirm the pH of the substrate is stable for re-coating. Most coatings require pH 6 – pH 9 but as a further precaution, check with the paint manufacturer.
Re-Coating After Peelaway® 1: Wood surfaces should be <20% moisture (exterior) or <12% (interior), as verified by a moisture meter. Excessively damp conditions can bring residues of Peelaway® 1 from deeper within the substrate, increasing the alkalinity. Exterior joinery such as window frames can be at risk of this, particularly during damper months. This could affect the appearance of the repainted surface. As a precaution if the surface is to be repainted, we would recommend using a good quality alkaline resistant primer prior to repainting, to prevent future resurgence of residue.
TECHNICAL INFORMATION: Guidance for removing difficult Peelaway residue.
This guidance is specific to Peelaway residues post-stripping. Before using Peelaway Products, always read the full guidance and product label before use.
![]() (Guidance for removing Peelaway residue)
(Guidance for removing Peelaway residue)
5. SPECIAL CONSIDERATION
Lead-Based Coatings: Residue/waste containing lead should not be allowed to dry out and generation of dust should be avoided. If airborne lead particles are suspected, a dust-mask should be worn.
Plaster Substrates: Saturation of plaster with water can lead to surface deterioration. Care should be taken to select the shortest effective Peelaway® dwell time to reduce the risk of this. Remove as much Peelaway® 1 residue manually as possible and after stripping, do not immediately wash down with water. Allow plaster to dry thoroughly, then clean up with soft dry brush as required. Only wash down with water sparingly if necessary and do not re-apply Peelaway® 1 to plaster surfaces as it can damage the surface. When neutralising plaster, dilute 1 part Peelaway® Neutraliser to 4 parts water and ensure surface is not saturated during application. Do not rinse, allow surface to dry for 24-48 hours before testing pH. Use of an alkali-resistant primer is recommended in preference to repeat applications of Peelaway® Neutraliser on plaster.
Calcareous Substrates: Substrates such as marble and limestone are compatible with the Peelaway® 1 poultice but care should be taken when neutralising, as the Peelaway® Neutraliser may damage the surface. Only neutralise if necessary for re-coating, diluting 1 part Peelaway® Neutraliser to 4 parts water.
Ferrous Metals: Unless very porous, it is not necessary to neutralise ferrous metals. Peelaway® Neutraliser may generate slight surface rust which can be gently removed using a wire brush or steel wool.
6. Disposal
Important information to purchaser: Information is given on the basis of our research and the research of others. However, no guarantee can be made as we cannot anticipate every variation in site conditions, surface coating and the methods of application. Purchasers are responsible for conducting their own tests to determine the suitability of this product for a particular purpose. The sellers and manufacturers only obligation is to replace any product proven to be defective and shall not be liable for any loss, damage or injury, direct or consequential, arising out of the use or inability to use this product.